- Connex for QuickBooks User Guide
- Deposit Match
-
Connex for QuickBooks User Guide
- Getting Started with Connex for QuickBooks
- Remote Desktop (RDP)
- Customers Matching
- Inventory Site
- Inventory Sync
- Multicurrency
- Orders
- Price Levels
- Products
- Refunds
- Sales Tax
- Sales Orders
- Unit of Measure
- Web Connector
- Getting Started with Rules
- Rules Engine Common Rules
- FAQ
- Deposit Match
- Cost of Goods Sold
- Troubleshooting
-
Connex Inventory Planner
-
Frequently Asked Questions
-
General Troubleshooting Guide
- Deposit Match Troubleshooting
- QuickBooks Desktop Error Messages
- Inventory Troubleshooting
- Incorrect Orders Troubleshooting
- Sales Tax Troubleshooting
- Web Connector Troubleshooting
- QuickBooks Online Error Messages
- Match Deposit Tool Troubleshooting
- Product Matching Troubleshooting
- Customer Matching Troubleshooting
- Rules Engine
- Orders from QuickBooks
- Payments Troubleshooting
- Missing Orders Troubleshooting
- Company File
-
Connex for QuickBooks Integrations Guide
-
Rules Engine Guide
Getting Started with the Connex Match Deposit Tool
How to automatically match payouts and sales in QuickBooks
Is there a demo?
Here is a demo:
What systems are compatible?
Amazon and Shopify are compatible.
Is this feature available on all plans?
You must have the platinum plan.
How does it work?
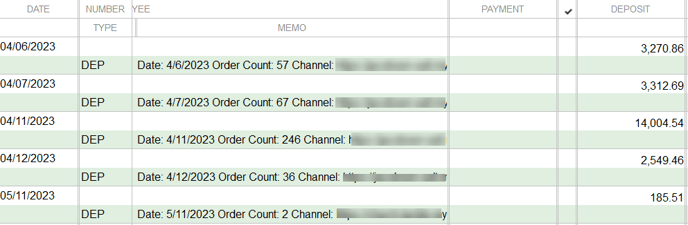
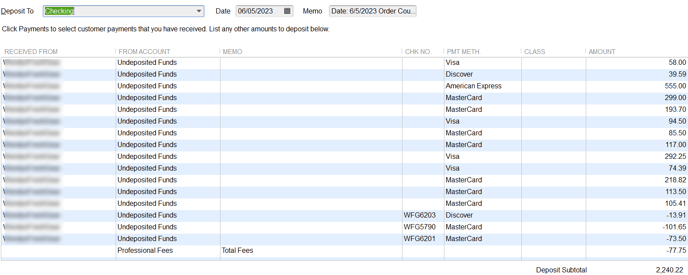
Connex will download a payout, locate the matching sales in undeposited funds and Connex will add the fees. Here is the end result:
Here is the details page:
How do I set-up the deposit match?
Here are the steps:
- Login to Connex.
- Click settings > order setting > match deposit.
- Enter the settings:
- Date range of payout is dates when payouts were deposited into QuickBooks.
- Deposit account is a checking account. This is where sales from undeposited funds are grouped and sent to QuickBooks.
- Fee account is the expense account for merchant fees.
How do I deactivate the tool?
On the deposit match settings page, click the deactivate button.