- Connex for QuickBooks User Guide
- Getting Started with Connex for QuickBooks
-
Connex for QuickBooks User Guide
- Getting Started with Connex for QuickBooks
- Remote Desktop (RDP)
- Customers Matching
- Inventory Site
- Inventory Sync
- Multicurrency
- Orders
- Price Levels
- Products
- Refunds
- Sales Tax
- Sales Orders
- Unit of Measure
- Web Connector
- Getting Started with Rules
- Rules Engine Common Rules
- FAQ
- Deposit Match
- Cost of Goods Sold
- Troubleshooting
-
Connex Inventory Planner
-
Frequently Asked Questions
-
General Troubleshooting Guide
- Deposit Match Troubleshooting
- QuickBooks Desktop Error Messages
- Inventory Troubleshooting
- Incorrect Orders Troubleshooting
- Sales Tax Troubleshooting
- Web Connector Troubleshooting
- QuickBooks Online Error Messages
- Match Deposit Tool Troubleshooting
- Product Matching Troubleshooting
- Customer Matching Troubleshooting
- Rules Engine
- Orders from QuickBooks
- Payments Troubleshooting
- Missing Orders Troubleshooting
- Company File
-
Connex for QuickBooks Integrations Guide
-
Rules Engine Guide
Getting Started with Connex for QuickBooks: Intro to the Dashboard
The Connex dashboard provides an at-a-glance overview of the Connex account.
What can I do on the dashboard?
On our dashboard, you can perform these functions:
- Adjust settings
- Run a manual sync to or from QuickBooks
- Back up and restore settings
- View a list of successful and unsuccessful syncs
- Adjust sales tax settings
- Map mismatched products
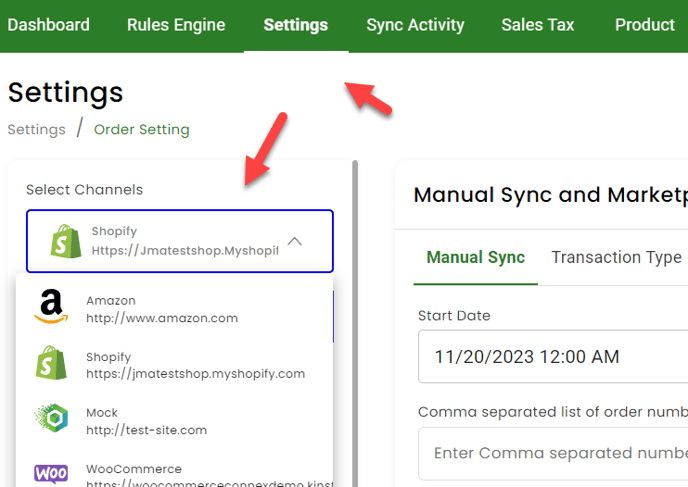
How do I adjust settings?
On the top menu, you can adjust the settings of any selling channel:
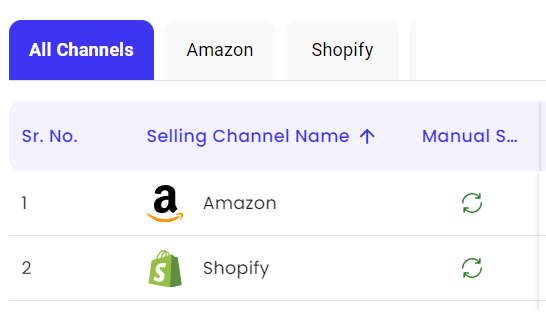
How do I run a manual sync?
You can run a manual sync to or from QuickBooks. Click the green arrows on the right of any selling channel:
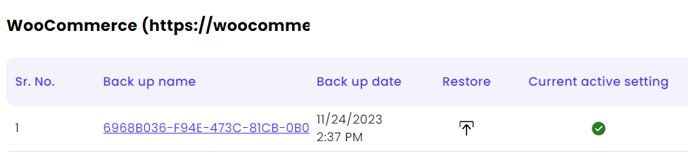
How do I back up and restore?
You can easily back up and restore settings. Click the download icon to back up:
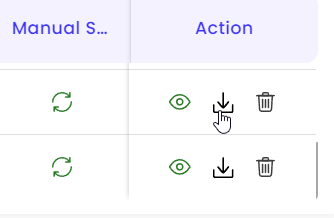
Click the eye icon to see the restore screen. You can choose from the last 5 back ups to restore:
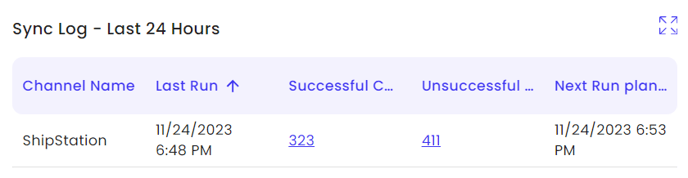
How do I view a log of recently synced sales and stock changes?
Our dashboard will show a list of recent syncs:
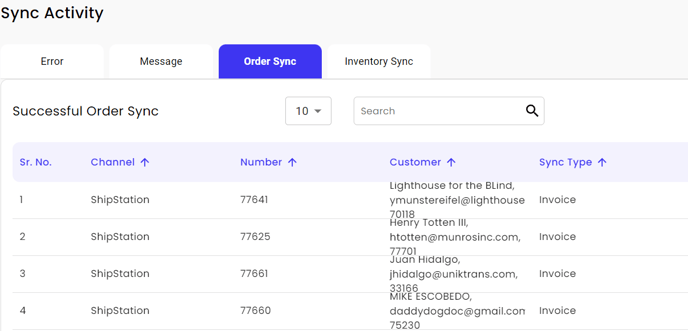
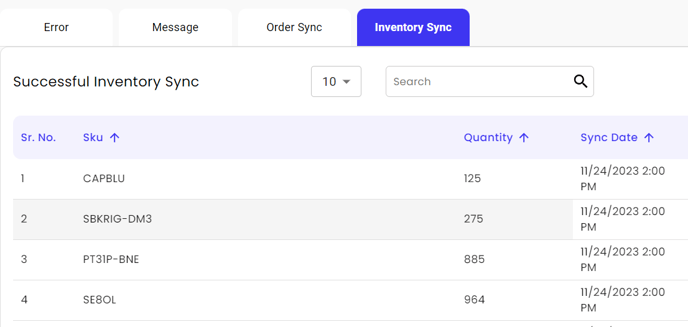
Click sync activity on the top menu. You can see sync failures and successes.
How do I adjust sales tax?
Click sales tax on the top menu. By default, Connex adds tax as a line item. You can map QuickBooks tax codes, if this feature is enabled in QuickBooks.
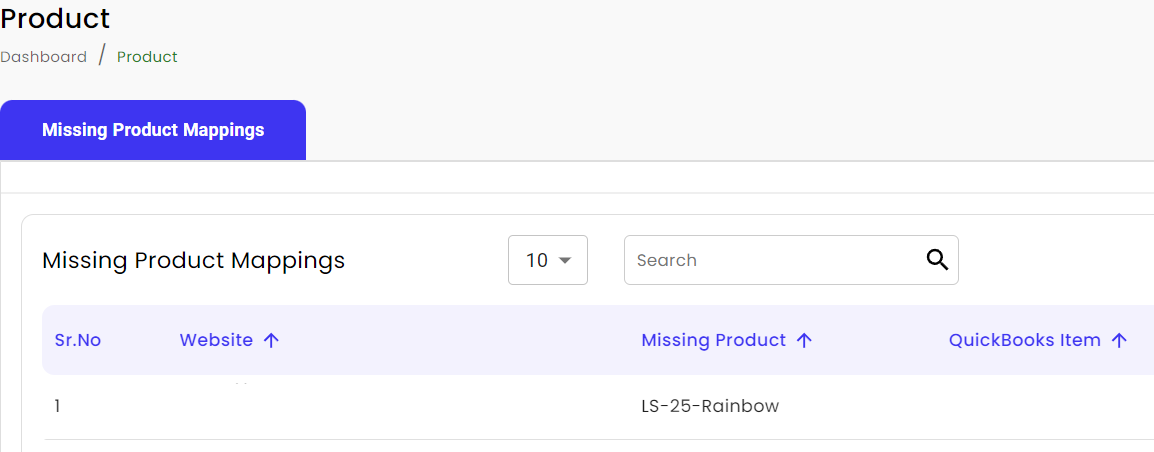
How do I update mismatched products?
Connex will notify you, if products are mismatched between QuickBooks and your channel. Click products on top: