Many of our customers are using pre-built fields. These fields are much easier to set-up and we recommend using them, instead of creating a custom field in QuickBooks.
How do I locate custom fields in QuickBooks Online?
We can only sync to the first three custom fields in QuickBooks Online. We recommend using the class or location fields instead.
- Login to QuickBooks Online.
- Click the gear box on the top right of the screen (settings).
- Choose Account and Settings.
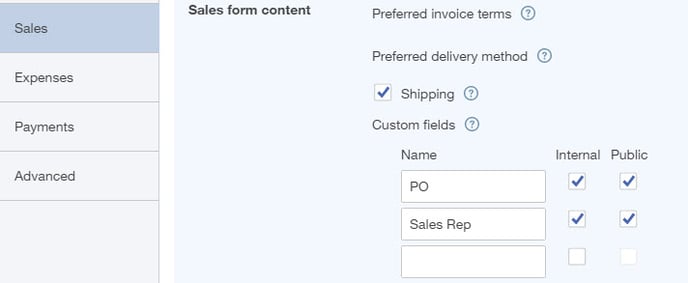
- Click Sales.
- Under Sales Form Content, enable custom fields.
How do I locate custom fields in QuickBooks Desktop?
To use these fields, follow these steps:
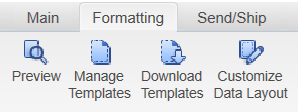
- In QuickBooks, open an invoice.
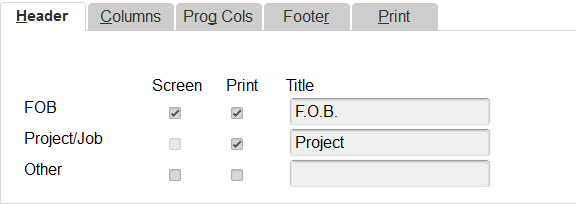
- Click the manage tab and click customize data layout:
If you see your field names in other or FOB, then you are using a predefined field.
How do I bind custom field to custom field?
Add Custom Field to QuickBooks Desktop
Here are the steps:
- In QuickBooks, click customers on the top menu.
- Select customer center.
- Open a customer.
- Click additional info.
- On the right, click define fields.
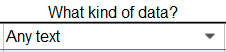
- In the dialog, enter the custom field name and check the customer box.
- In the what kind of data field, enter any text. Other data types are not supported at this time:
View a list of custom fields to map
- Login to Connex.
- On top, click rules engine.
- Click the order previewer button.
- Click order previewer.
- Fill out the search form to view your sale. If you use Shopify or WooCommerce and the order number fails to return the proper sale, use the date range search.
- Click the eye icon.
- Scroll down to custom fields.
Add Rule
Here are the steps:
- Go to the Connex for QuickBooks rules engine.
- Click add new rule.
- Choose rule without condition.
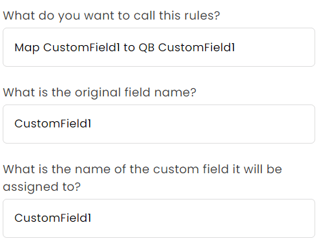
- Choose the rule type map custom field to another custom field.
- Add a name for the rule.
- Complete the form by entering the custom field name in your selling channel and QuickBooks:
- Click submit.
How do I map a field from my selling channel that is not a custom field to a custom field in QuickBooks?
In this example, we will map the order number to the QuickBooks custom field Customer P.O.:
- Go to the Connex for QuickBooks rules engine.
- Click add new rule.
- Choose rule without condition.
- Choose the rule type map custom field to a QuickBooks standard field.
- Add a name for the rule.
- Enter order number as the QuickBooks field.
- Enter Customer P.O. as the custom field in QuickBooks.
- From your ordering solution, enter the field name. In this example, the custom field name is "other". Replace other with the custom field name in your ordering solution:
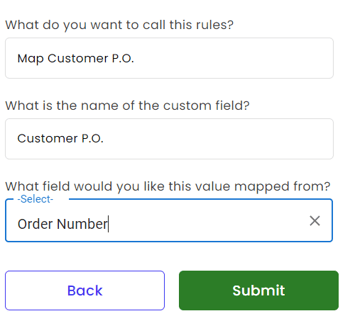
- Click submit.