Now that Connex and QuickBooks are paired via the Web Connector, it's time to configure the integration settings.
Getting Started with Connex for QuickBooks: Configuration Wizard
Important:
Configuration must be completed before orders can sync to QuickBooks.
In this article, you'll find a step-by-step walk through of the Connex configuration wizard. This is a series of seven steps asking how you want these orders to appear in QuickBooks. You'll walk through the configuration wizard once, and when complete, your settings will be saved and you'll be ready to sync your first order!
Is there a demo?
Here is a presentation that outlines all settings:
In this article:
- Sync Direction
- Orders
- Customers
- Accounts
- Sales Tax Mapping
- Products
- Notifications
- What do I do when the installation wizard is complete?
- What if I want to make changes?
- Configuration Wizard Video
Step 1: Sync Direction
The first step of the configuration wizard begins the set up process and answers to the following questions:
- Which direction do you want to sync - orders to QuickBooks or orders from QuickBooks? Note: Some integrations are not compatible syncing sales from QuickBooks
- Would you like to sync inventory quantity-on-hand updates from QuickBooks to your website (please see: How Inventory Syncing Works).
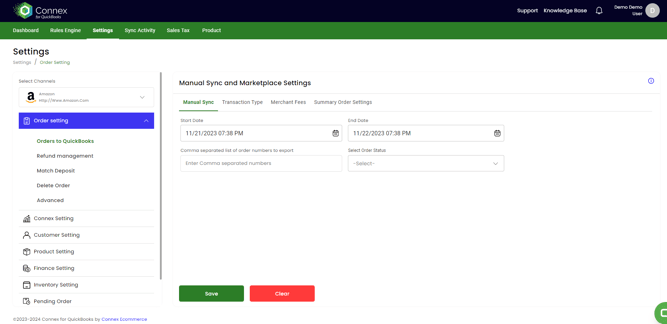
Step 2: Orders
This step instructs Connex what transaction or document type to create in QuickBooks for your sales. Selecting a transaction type is required. However, the additional settings are all optional.
- Order Statuses
Status of the transactions that you would like to sync to Quickbooks. - Selling Channels
Choose a list of marketplaces where orders should sync from to QuickBooks. If this area is blank, Connex will sync orders from all selling channels in ShipStation to QuickBooks - Transaction type
How do you want these orders to appear in QuickBooks (please see: What transaction types are supported?). This step is required. - Merchant Fees
- Group Summary Transaction Settings
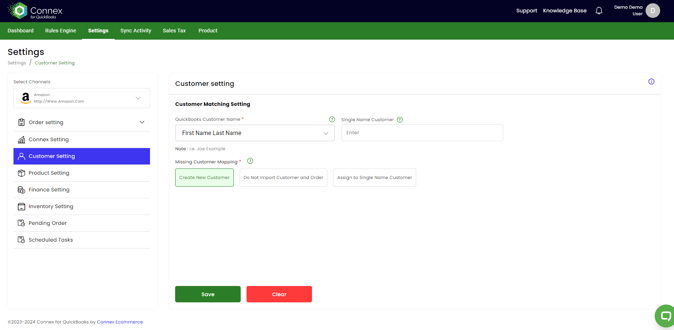
Step 3: Customers
When Connex syncs an order from your website, it looks at the customer or company name on the order and tries to find a matching customer in QuickBooks. If it finds a match, Connex adds the order to the customer. If it can not find a match, Connex will create a new customer, and then sync the order under that new customer (please see: How does Connex match my existing QuickBooks Desktop Customers?).
- Choose a customer matching behavior from the list of available options.
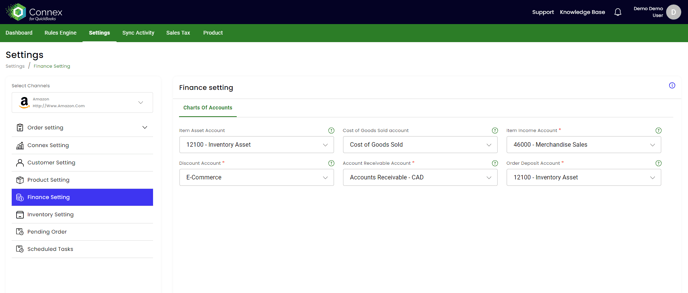
Step 4: Chart of Accounts
- When Connex creates new items for you in QuickBooks, we need default accounts to use to create the item in QuickBooks. Think: When you create new items in QuickBooks, which Item Asset, Cost of Goods Sold, Income and Accounts Receivable account do you use? Choose them from the list.
- Discount Account - which Discount account do you want Connex to apply discounts to?
- Order Deposit Account - Which deposit account do you want the funds to appear? Connex recommends syncing to the Undeposited Funds account, and then move them to the deposit account at time of reconciliation. For more information, please see our article on changing the deposit account on a order.
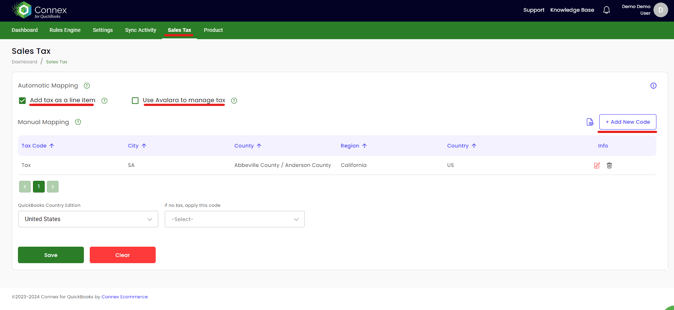
Step 5: Sales Tax Mapping
Connex for QuickBooks allows you to match existing QuickBooks tax codes based on the city, county, or state to QuickBooks. Connex supports QuickBooks Canada and the UK. This allows for easy management and reporting of sales tax payable in QuickBooks.
- To map to your Sales Tax Payable accounts in QuickBooks, Choose Add New Tax Code.
- If you would like Connex to add it as a line item, check off Add Tax as a Line Item, and leave the Tax Code List Blank.
For more information, please see our article on Sales Tax Mapping.
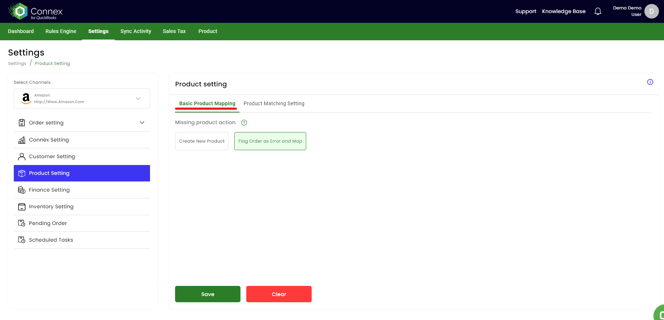
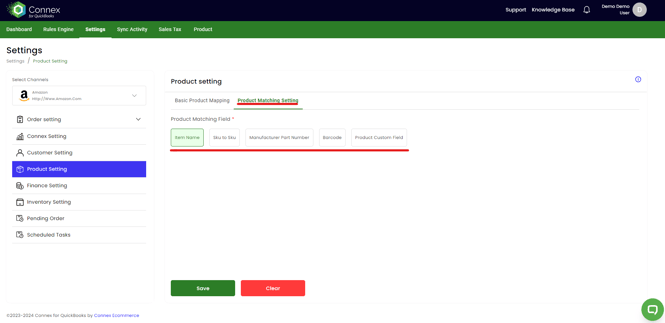
Step 6: Products
Connex is automatically programmed to match the product SKU from your online store to the QuickBooks item name field. Additionally, Connex will find products, if they are children of parent products. Alternatively, you can instruct Connex to match product by manufacturer part number of a custom field, if your item list is under 5,000 (please see: How Connex Matches Products).
- Choose your product match from the drop down.
Step 7: Notifications
Connex features a Transaction Log tool that showcases everything that Connex is doing; from successful order syncs, payments, inventory updates, and more. In essence, this is the beating heart of Connex, showing you everything that the software is doing for you, at a glance.
To access the transaction log, you must login to the Connex dashboard.
This is the is the final step in the installation wizard. Click Submit Form to Complete the process.
Success!
When all the steps have been completed, you will arrive at the Set Up Complete page
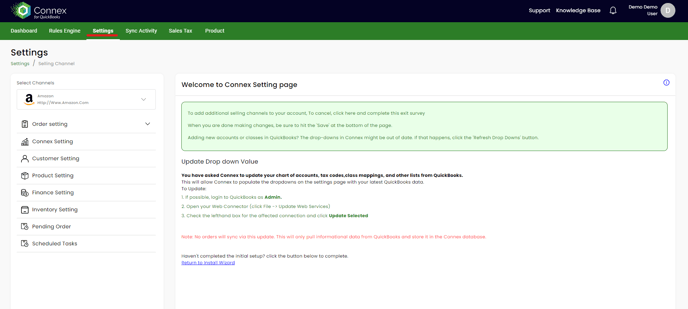
What do I do when the configuration wizard is complete?
Your sync has now been set up. If you have set your web connector to sync automatically, there is nothing further you need to do. The sync will run, and if it finds new orders, Connex will create them in QuickBooks. Remember to check back on your Transaction Log for details.
- View your transaction log: click here to bring up your transaction log. You can leave this page up and check back after an hour or two.
- My Dashboard: click here to bring you to the Connex Dashboard.
- Sync Now: Click here to perform a Manual Sync. This will allow you to sync a test order manually, instead of waiting for the automatic run.
What if I want to make changes?
Don't worry! Nothing is "locked in." You can change your settings at any time. You can access the setting from your dashboard by clicking the 'manage' button and change it at a later date.